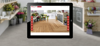

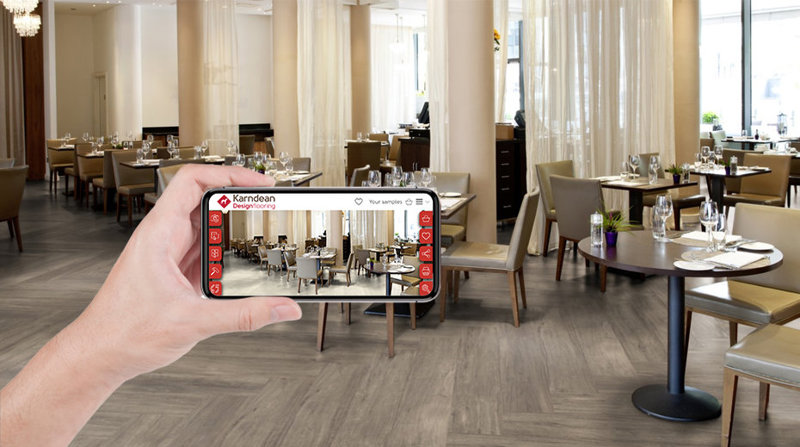
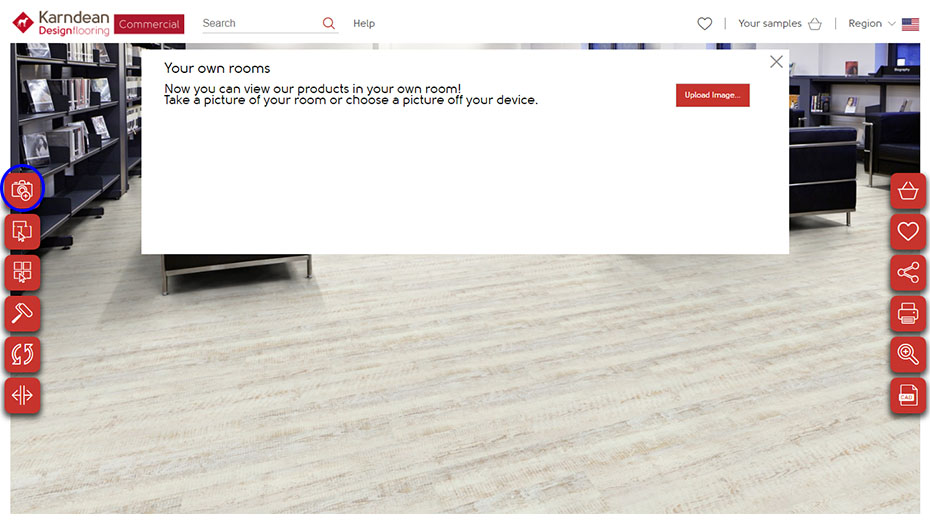
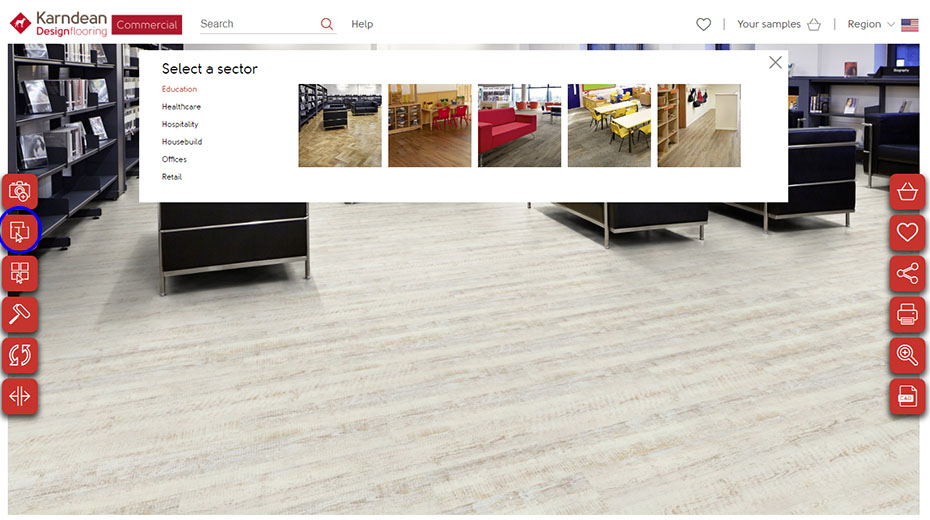
No project is too big or too small for our Floorstyle room visualizer. With recent updates to this free digital tool (accessible on your mobile device, laptop or tablet), we want to make sure you can take advantage of Floorstyle from anywhere – whether it’s at your office, during a client consultation or on the go. Follow our step-by-step guide to create your own custom design.
1. Open Floorstyle.
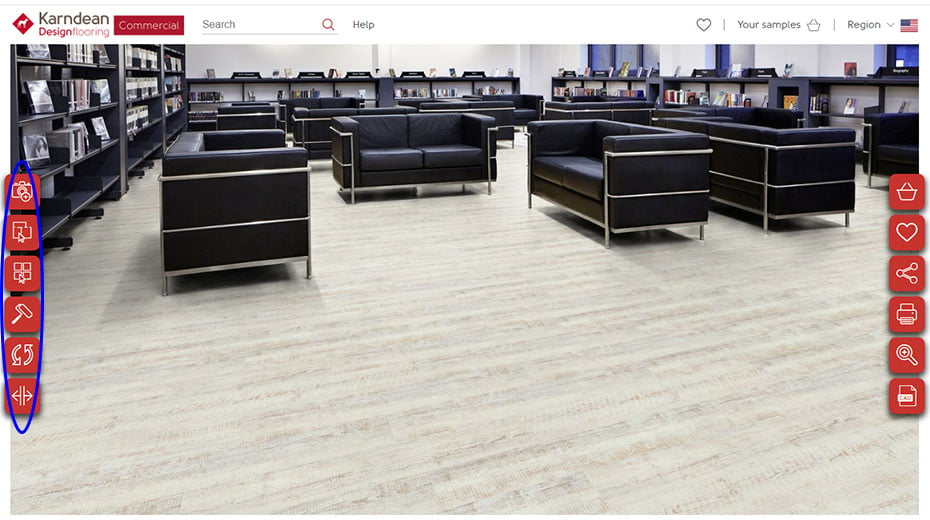
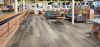
A room scene will automatically appear with design tools on the left.
3. Select the floor color.
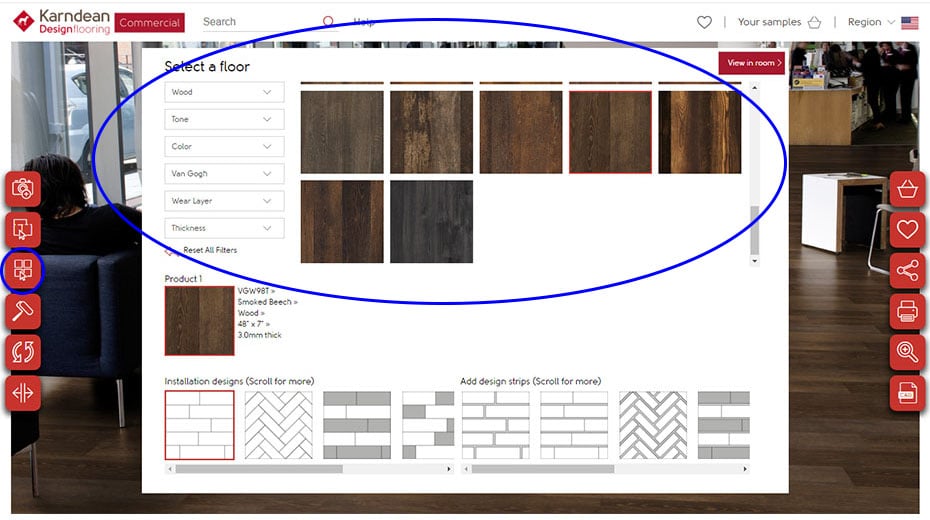
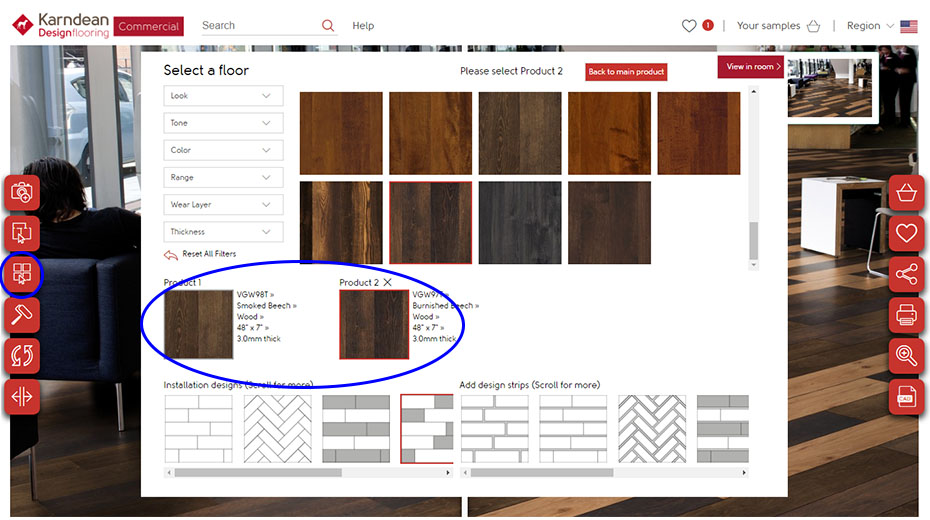
Click the third icon on the left named “Select a floor.” You can filter flooring options based on look, tone, color, Karndean product range, wear layer or thickness. Scroll down to make a selection. As you filter options, a different floor will automatically populate in the background.
4. Customize your design.
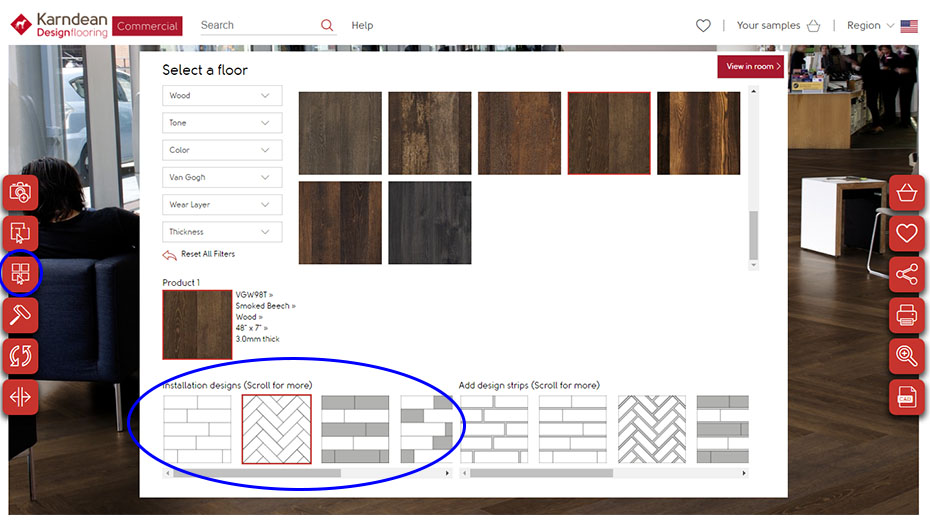
- Lay pattern: Depending on the product construction (gluedown, loose lay or rigid core), you can customize the look of the floor with various installation designs and patterns. To incorporate a pattern, click on one of the options under "Installation designs." At any time, you can click "View in Room" to see the full photo with your latest design choice.
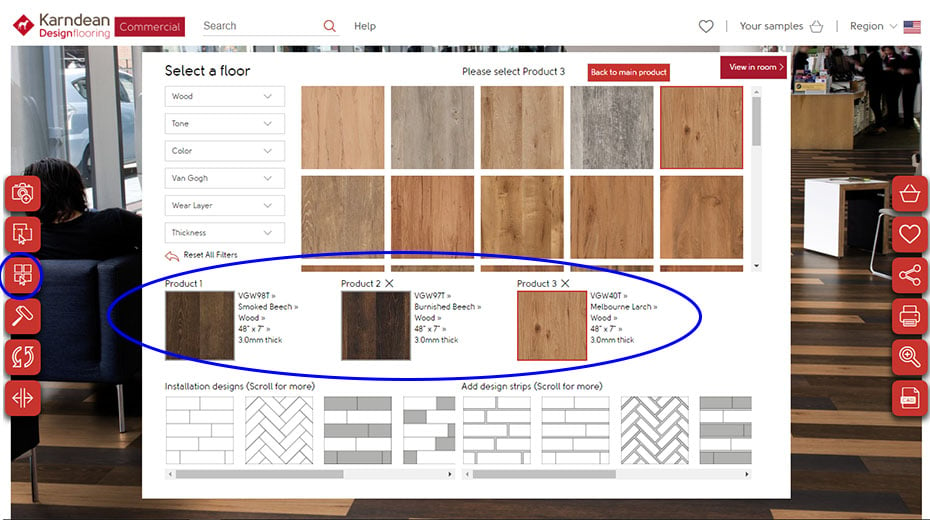
- Multiple colors: If you choose a pattern that allows for multiple colors, you can change which products you’d like in your installation design by clicking on the numbered products and then choosing which colors you’d like. The chosen product will be outlined in red. This feature is perfect for experimenting with different ratios of color - in this example, we’ve demonstrated a 33/33/33 ratio. To achieve a 75/25 ratio, choose the "Random with 4 slots" installation design option and choose the same color three times and one different color as your fourth.
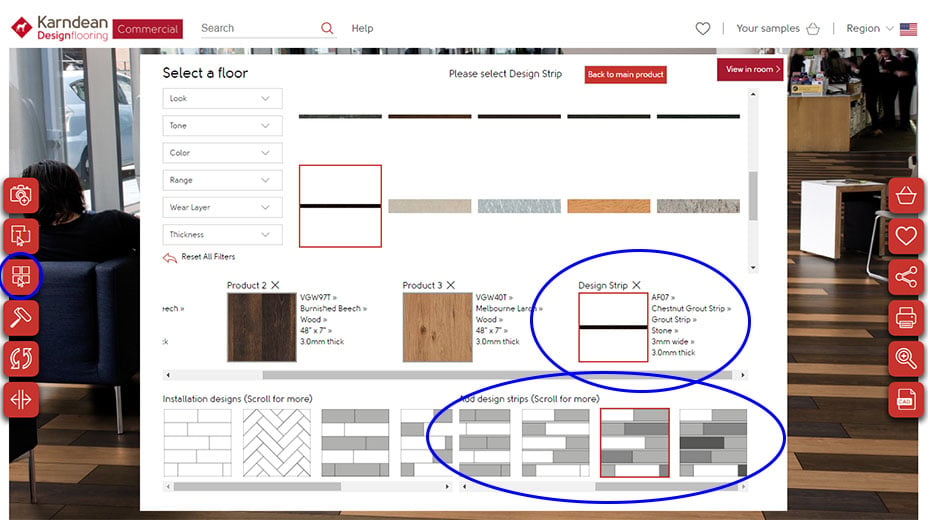
- Design strips: If you’d like to add design strips to your floor, select from the following design strip options on the bottom of your screen. To select a design strip color, navigate to the top row on your screen with your chosen products and scroll horizontally. Click on the design strip and it should appear outlined in red. Design strips in various colors and widths will appear where products were previously displayed. Scroll down to choose the right design strips for your floor.
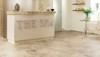
4. Click “View in room” and your new floor will appear.
5. Other display options.
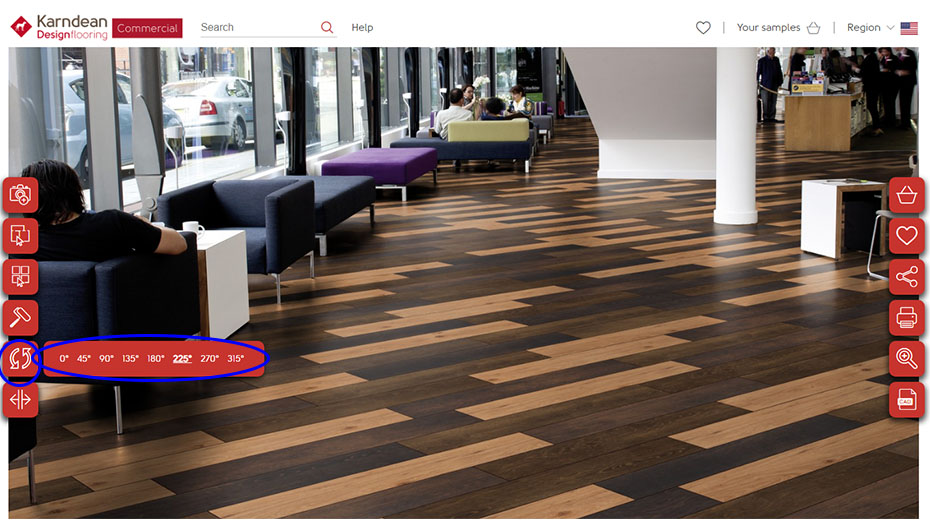
- Change the angle of the floor: Click on the rotate icon and rotate your floor in eight variations.
- Change the wall color: When using our room scene photography, you can further customize some spaces by clicking on the paint roller icon and choosing a wall color (note: this was not an option for the room scene we chose).
- Compare two layouts side-by-side: Simply click on the icon on the bottom left to compare and your screen will be split in two by a dividing bar.
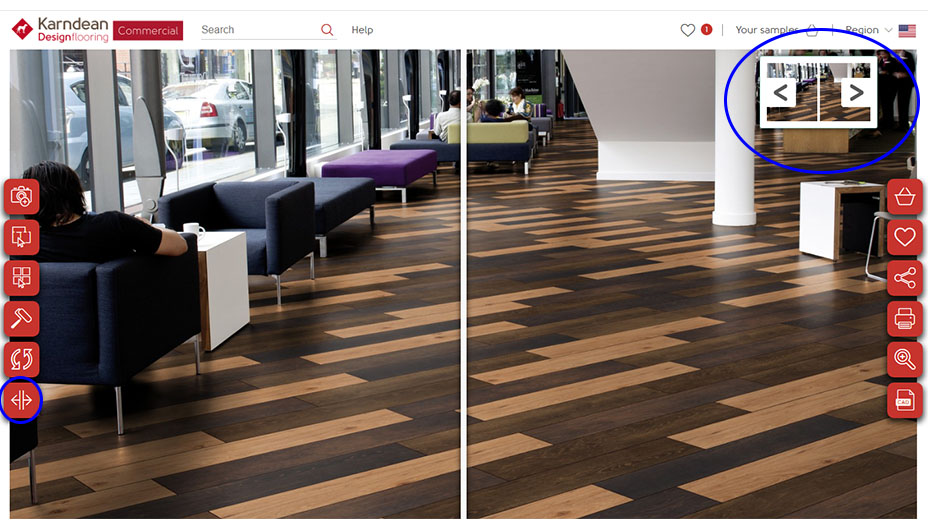
- A notification box will appear in the upper right corner instructing you to choose one floor and add it to your selection. Hover over the small thumbnail image of your floor. Two arrows will appear pointing away from each other. Click on the left arrow to begin altering the floor on the left side of the split screen. Navigate to the “Select a floor” icon and choose a new floor color, installation pattern or design strip. Click "View in room" when you're finished.
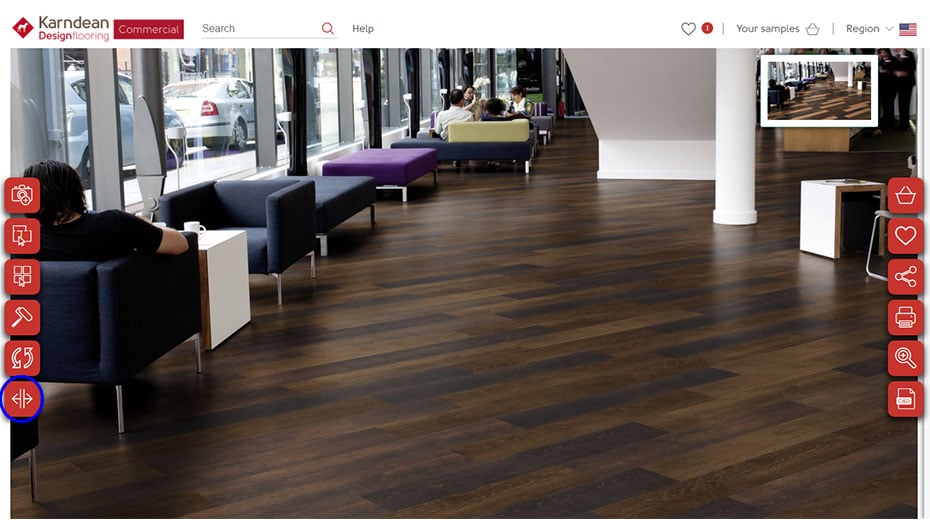
- If you prefer one floor to another, hover over the thumbnail image in the right of your screen and click on the arrow corresponding to the floor you prefer. Your screen will now appear entirely in that design. You can also drag the divider bar to either side to reveal more of one design. When finished, click on the icon again to see your room with one cohesive floor.
6. Other Floorstyle features.
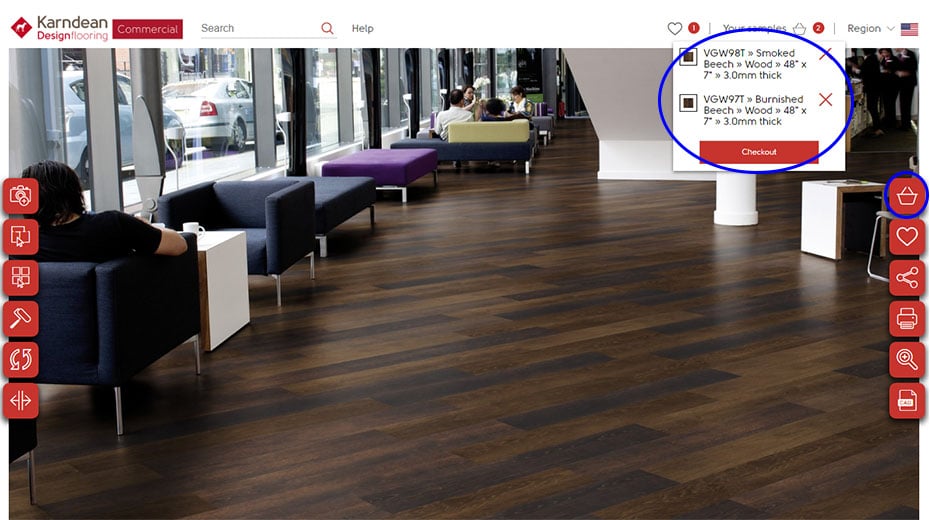
- Request a sample: Found the right floor for your project? Use the icons on the right to add a free swatch sample of the colors your chose to your cart.
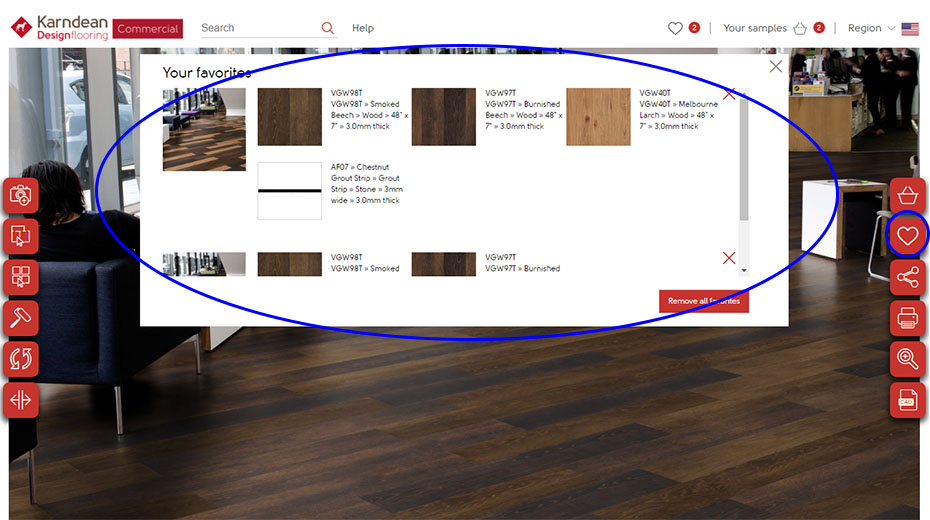
- Save as a favorite: Once you "favorite" a project, you can reference it at any time at the top of your screen under the heart icon if you are logged in to your Karndean Designflooring account.
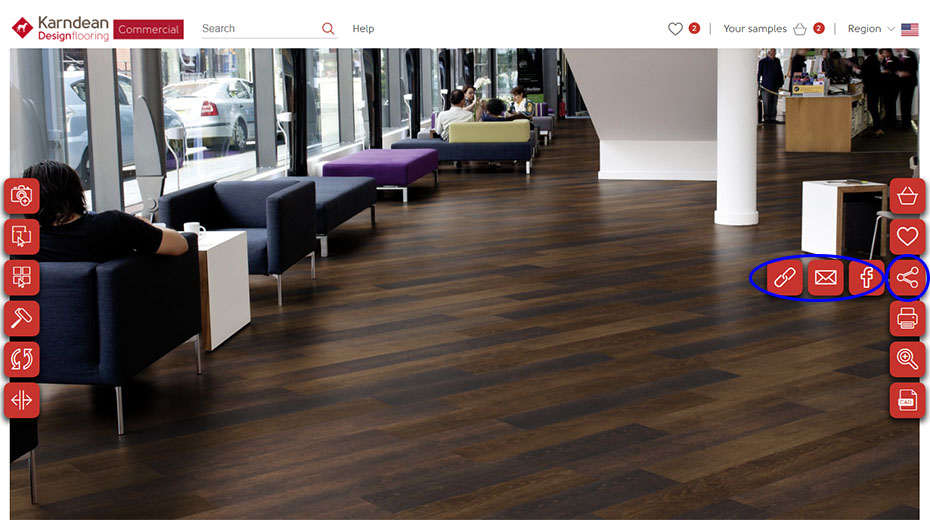
- Share your layout: Create a link to send to others, share on Facebook, or send in an email.
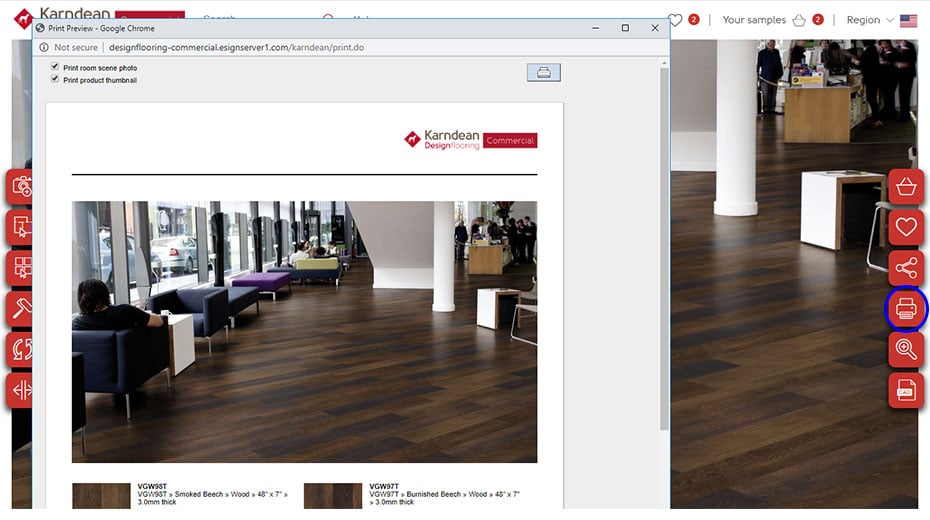
- Print: Print a copy of your design.
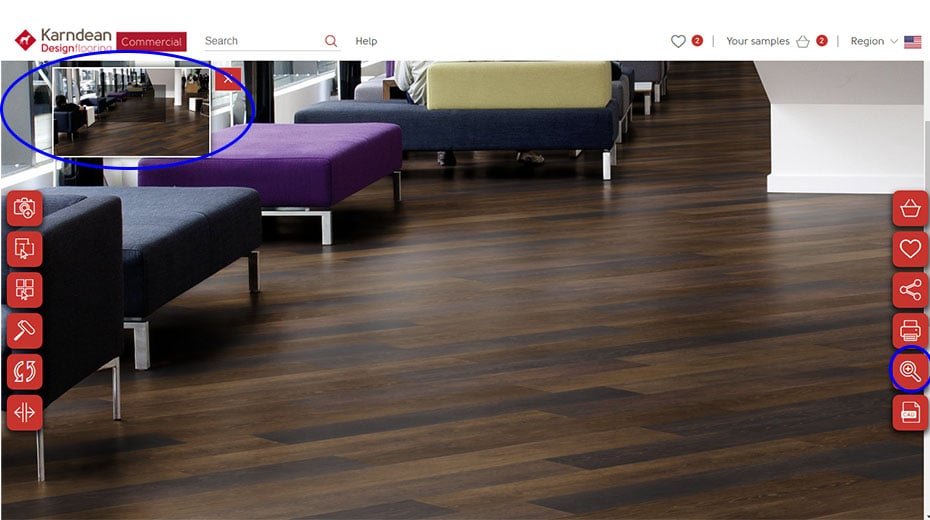
- Zoom: Take a closer look at your design.
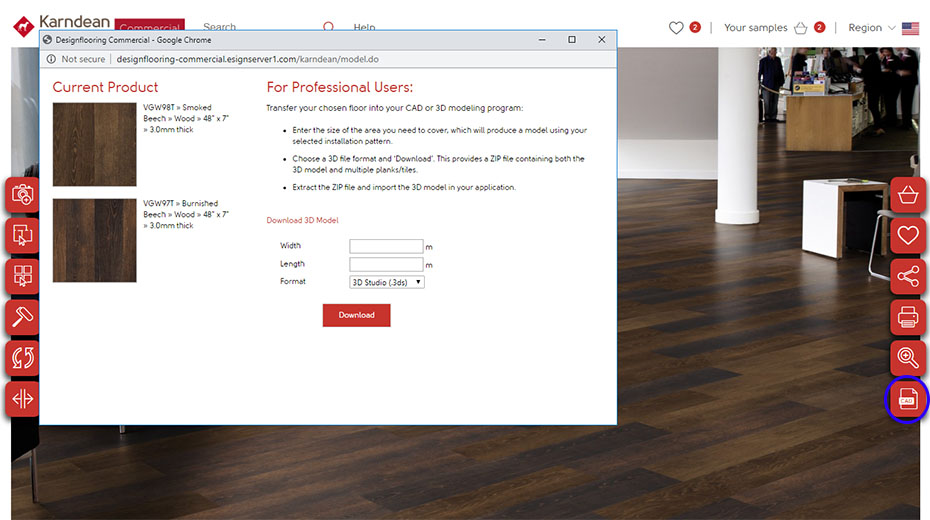
- Download a CAD file: Download CAD files of the products used to plug into project renderings.
With over 175 floors, design strips, installation patterns and the ability to mix colors to create a custom floor, you're sure to have a unique space using Karndean Designflooring and Floorstyle. Share your finished designs with us on Instagram by following and tagging us at @karndean_usa.